A good friend of mine is always laughing at us about our obsession with buying up old furniture to renovate, ‘Why don’t you just save yourself some hassle and buy new’ she often says. But where’s the fun in that?! Not only is up cycling a great way to save money, I love old things, imagining the stories behind them and giving a new lease of life to something with a bit of history.
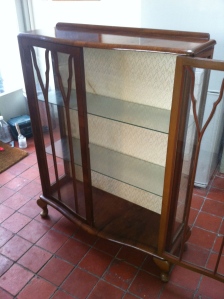
I shared some images a while ago of my latest find, an absolute steal at £27 it was an old drinks cabinet (very retro, it even had a light inside to highlight your Baby Shams no doubt!).
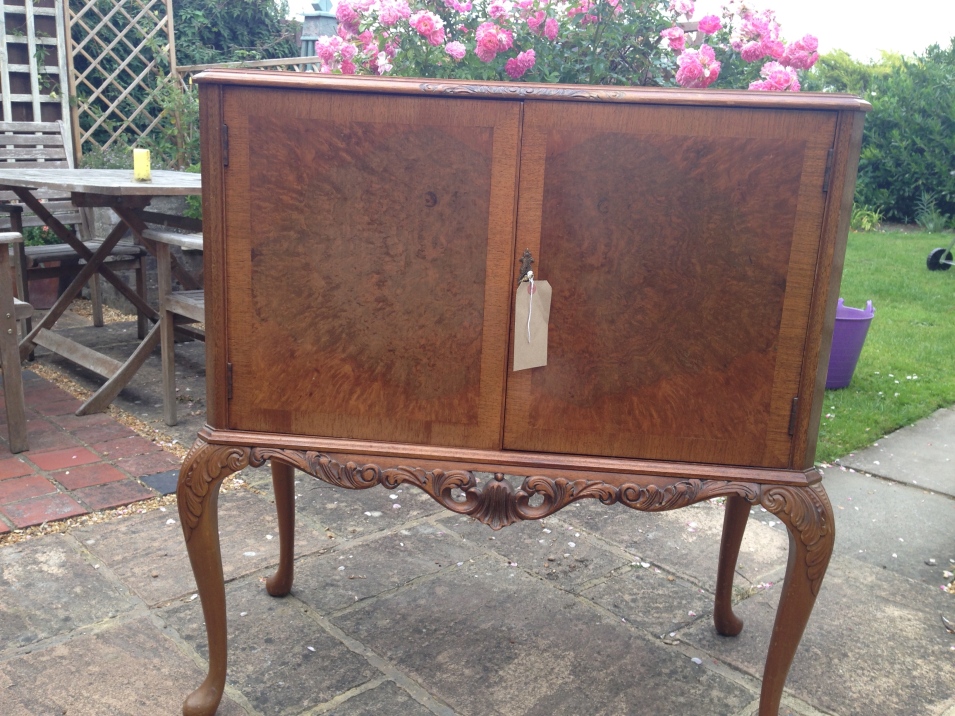
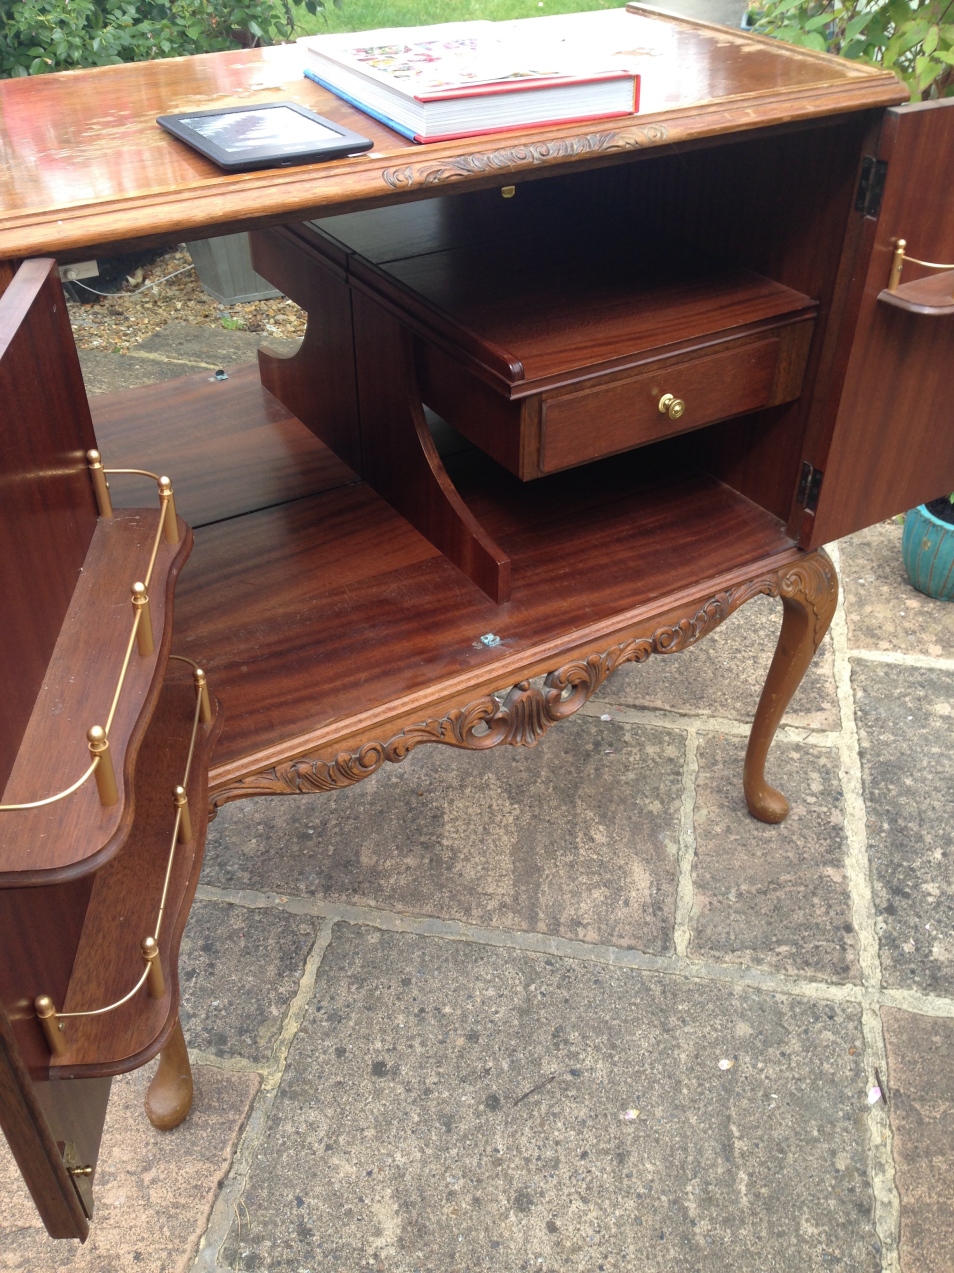
I wanted something for our revamped dining room to replace some awful shelving I’d had enough of and took a hammer to and this looked perfect for storage. I took some pictures as we went along with a view to doing this step by step guide (and to prove to my friend how easy it is!)
I’m by no means an expert but hopefully this will show how easy it is to do and encourage you to have a go.
What you’ll need…
- Sand paper (a hand held sander ‘mouse’ is even better if you have one, although not essential)
- Sugar soap
- Paint brushes (including a really small one for any tricky details)
- Good quality primer (we buy all our paint from Johnstones in Cambridge, if you’re local check them out)
- Paint of your choice (we always use eggshell as I’m not a fan of anything glossy. But chalk paint is really fashionable at the moment)
- Matt varnish (not essential but it does protect the finish. You can also use a wax, especially if you are going for a more distressed finish)
Step by step…
- Good preperation is absolutely key to getting a good finish. You’ll find that lots of older furniture will have layers of varish, polish or wax which you’ll need to rough up in order to get a good finish with the paint. Start off by giving the piece a good sand all over.
- Once you’ve sanded it, brush off the worst of the dust and then make up a sugar solution and give it a good wipe. This stuff is brilliant and picks up all the annoying little bits of sanded mess.
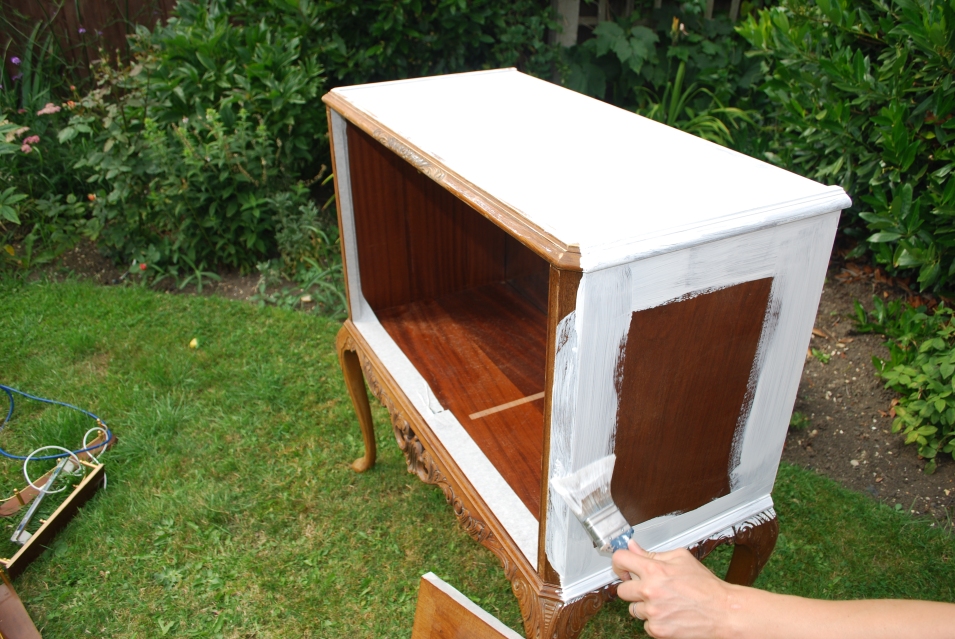
- A tip we’ve learnt as we’ve gone along is to make sure you tape up any edges you don’t want to paint. We’ve found that when painting furniture with doors, it’s best to leave the edges as it can affect how they open and close. Spend a bit of time properly masking taping edges and you’ll be glad in the long run!


- You’re ready to paint! Start by putting a coat of primer all over. Don’t forget the backs of legs and underneath. If you are painting a chair it’s a good idea to turn it upside down first and start there.
- Once the primer has dried, check it all over to make sure you don’t need to lightly sand again. If you do repeat step 2 again.
- Time to paint with your chosen colour. Most pieces will need two coats – allow enough time for drying in between and try not to be impatient. Try to keep your brush strokes going in the same direction.
- The next step is option – if you want a distressed look, use a piece of sandpaper (wrapped around a small block of wood usually helps) and sand any edges to give that vintage feel. Focus on areas where chips and scrapes would naturally appear to make it look authentic. This looks is usually more effective when you use a colour and then take it back to either the primer coat or the bare wood.
- Once you are happy with your finish, give it a coat of the varnish. This is especially important for pieces like dressing tables – make up will then easily wipe off!
- That’s it. Wait for it all to dry before putting it back together and then step back and enjoy your master piece!